
Articles
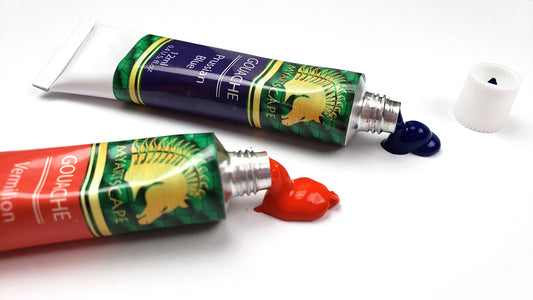
Painting with Gouache
It’s time to learn about gouache, and start painting with it too. So grab your gouache painting supplies and let’s paint! ...
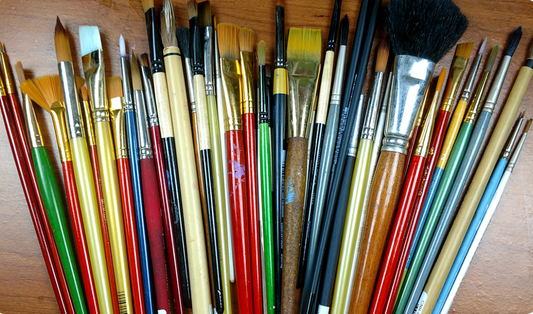
Types of Paintbrushes
Aside from the paint itself, one of the most important tools for a painter, is the paintbrush!These are an extension of you,...
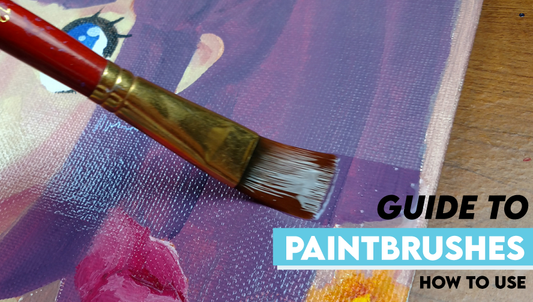
Guide to Paintbrushes - How to Use
With so many different shapes and sizes of paintbrushes, there are also many different uses for them. For the most part, you...
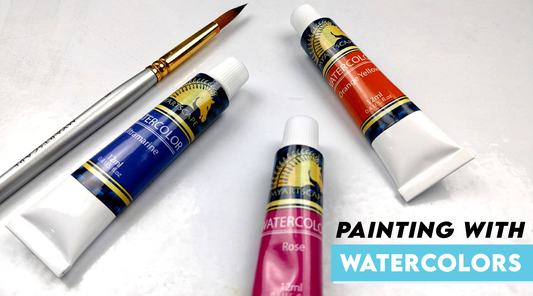
Painting with Watercolors
Let’s talk about what watercolor is made of, how to use them properly, and how to do some cool watercolor techniques.
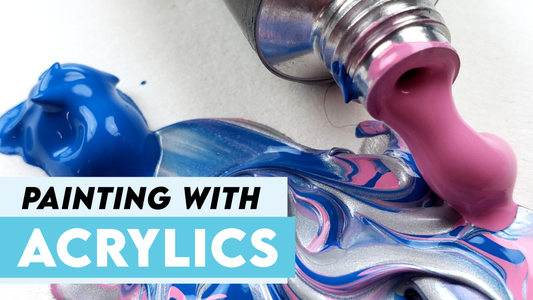
Painting with Acrylics
Now that you have the supplies, let’s start painting with acrylics. Let’s learn a little bit more about them, and talk about...
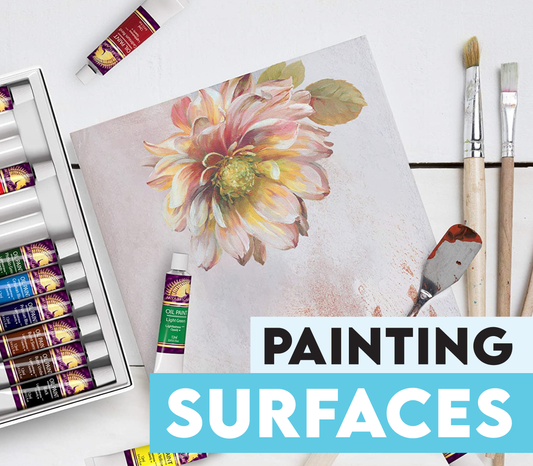
Painting Surfaces
With any painting, you’re going to want a good surface to paint on. For each type of paint, there are a few...
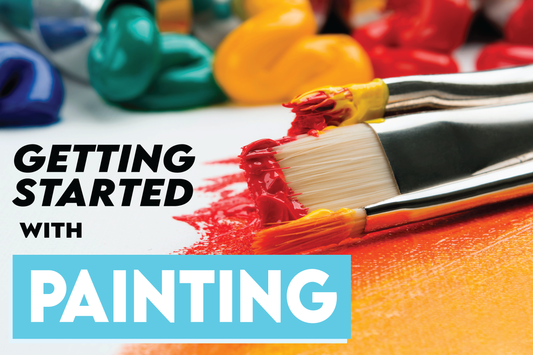
Getting Started with Painting
So you want to get into painting, but you’re not sure where to even begin. Well, look no further. We're going to...
SIMPLE STEPS TO BECOMING AN AWESOME PAINTER – PART 2
Part 2: Selecting the Right Brush Head In the previous article we covered hair type and which types are best suited to...
SIMPLE STEPS TO BECOMING AN AWESOME PAINTER - PART 1
Part 1: Selecting Hair Type The sheer array of paint brushes available can seem quite overwhelming for the beginner or even the...